
A simple and easy guide on how to Chalk paint furniture
Chalk paint is a good option for furniture; it is easy to apply and also saves you from a lot of extra effort; beforehand preparation of the furniture, there is no need to strip or prime furniture before painting it from a chalk paint.
Also read How To Paint A Bathroom Countertop In 5 Easy Steps.
Its texture makes it easy to apply and gives a flawless result.
Step:1 Prepare The Furniture
Well, there is no need to prime or strip the furniture’s coat, but some steps must be followed before painting a piece of furniture with chalk paint.
- Clean the furniture- clean the dust and debris on the furniture; if you want a flawless finish, it won’t look good if there is dust or grip trapped under the paint. Use a dry rag and then a damp rag to obliterate the dust. If there is grease on the furniture, try a sugar soap to get rid of it.
- Remove any hardware- remove handles, knobs, drawers, etc., if there are any. The removed hardware would be nothing but an obstacle in getting a professional final finish.
- Fill in the gaps and scratches- if there are cracks and scratches which have the potential of spoiling the chalk paint’s final look, get rid of them ASAP. Use a filler and a putty knife to fill in the cracks. However, leave the cracks as they are if you prefer an old and worn-out look on the furniture.
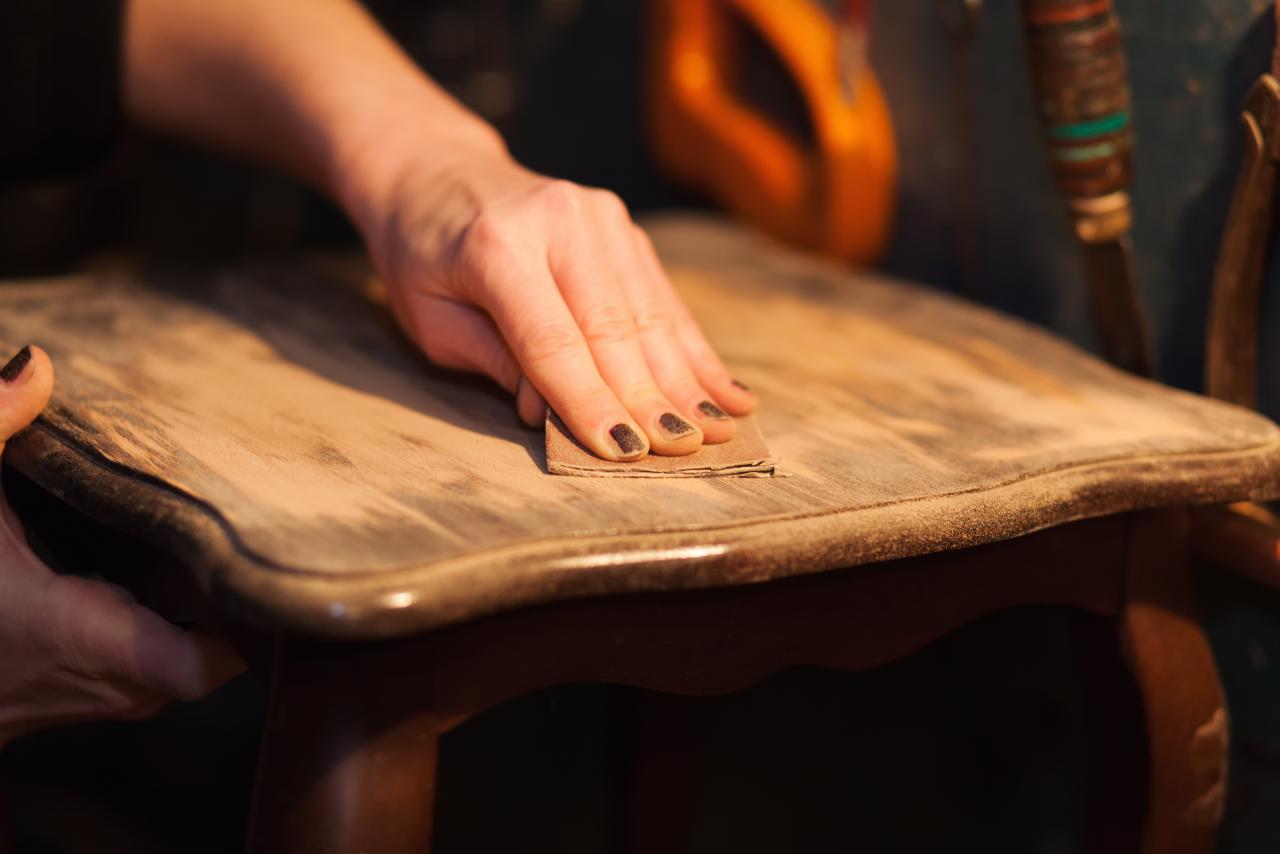
- Sand the furniture- if the surface is uneven, then it’s necessary to sand the furniture; use fine grit sandpaper and a sponge. Now flat out the surface and clean it and wipe the whole surface once again to remove the dust and particles generated from sanding.
Learn how to sand furnitures for a smooth surface to paint
Step:2 Paint Application
Selection of paint is an essential part of painting anything. Choose the desired color and brand. Also, there are various options in chalk paint, but don’t choose blindly, as lighter colors would need multiple coats in order to look flawless, while the darker shades would take lesser coats than the lighter colors.
- Choose a brush- if the surface you are painting is smooth and doesn’t have any curves. But if the furniture you have holds a surface with a lot of curves and corners, then an oval brush would excel the job. And if you want to do some creative strokes, then use a stencil brush.
- Amount of paint- a four-ounce container is more than enough for basic regular-sized furniture; even if there are multiple coats, this much paint is all you need.
- Mark the areas with painter’s tape- if you want to leave any part of the furniture unpainted, then cover that particular part with the painter’s tape. Painter tape can also help you create geometric patterns by sticking it and then removing it after the paint is dry. But if you are planning to paint the whole surface, then this step can be skipped.
Pro-tip- the first coat doesn’t need to be perfect, so you have the opportunity to stroke however you please. Your first concern should be the coverage of the whole surface.
- Patch test- patch test is necessary to know if your furniture is bleeding colors or not. Find an area that is not visible in front, and apply a coat of paint you have, then try the second one to see if the paint is bleeding; if there is no bleeding of paint, then continue painting the furniture. But if there is a case of bleeding, you need to apply shellac before painting. Apply 2-3 coats of shellac and then paint it when the shellac coats are dry.
- Bottom to top- paint a piece of furniture from bottom to top. As the top part require the most attention and care, so it’s better to start from the bottom as it would help you to get in the flow and also get rid of the anxiety you might have about ruining it. Once you are done painting the bottom to the top, also paint the side without wasting any time.
- Apply more coats- the first coat is never perfect; it would be blotchy and ugly. Apply 2-3 coats to get a flawless finish with some shades. It might take 1 or 2 extra coats. Apply each coat when the first one is completely dry. It should take 30 to 60 minutes to dry completely; depending on the room’s temperature, it can take up to 3 hours.
- Spread it evenly- once the coat is applied, you need to check for any dripped paint as it can ruin the finish and can be tough to remove if dried.
Things to keep in mind while applying more coats
- The first coat should dry completely before proceeding to the next coat, apply a second coat and try to fill any cracks or gaps you see left in the first coat.
- If the first coat is uneven and has patches that can’t get ignored, then don’t hesitate to sand it a little bit.
- Don’t apply a very thick layer of the paint as it won’t only take much longer to dry but will leave a textured finish that isn’t any close to flawless.
Create textures
Try creating textures with different brush strokes and techniques.
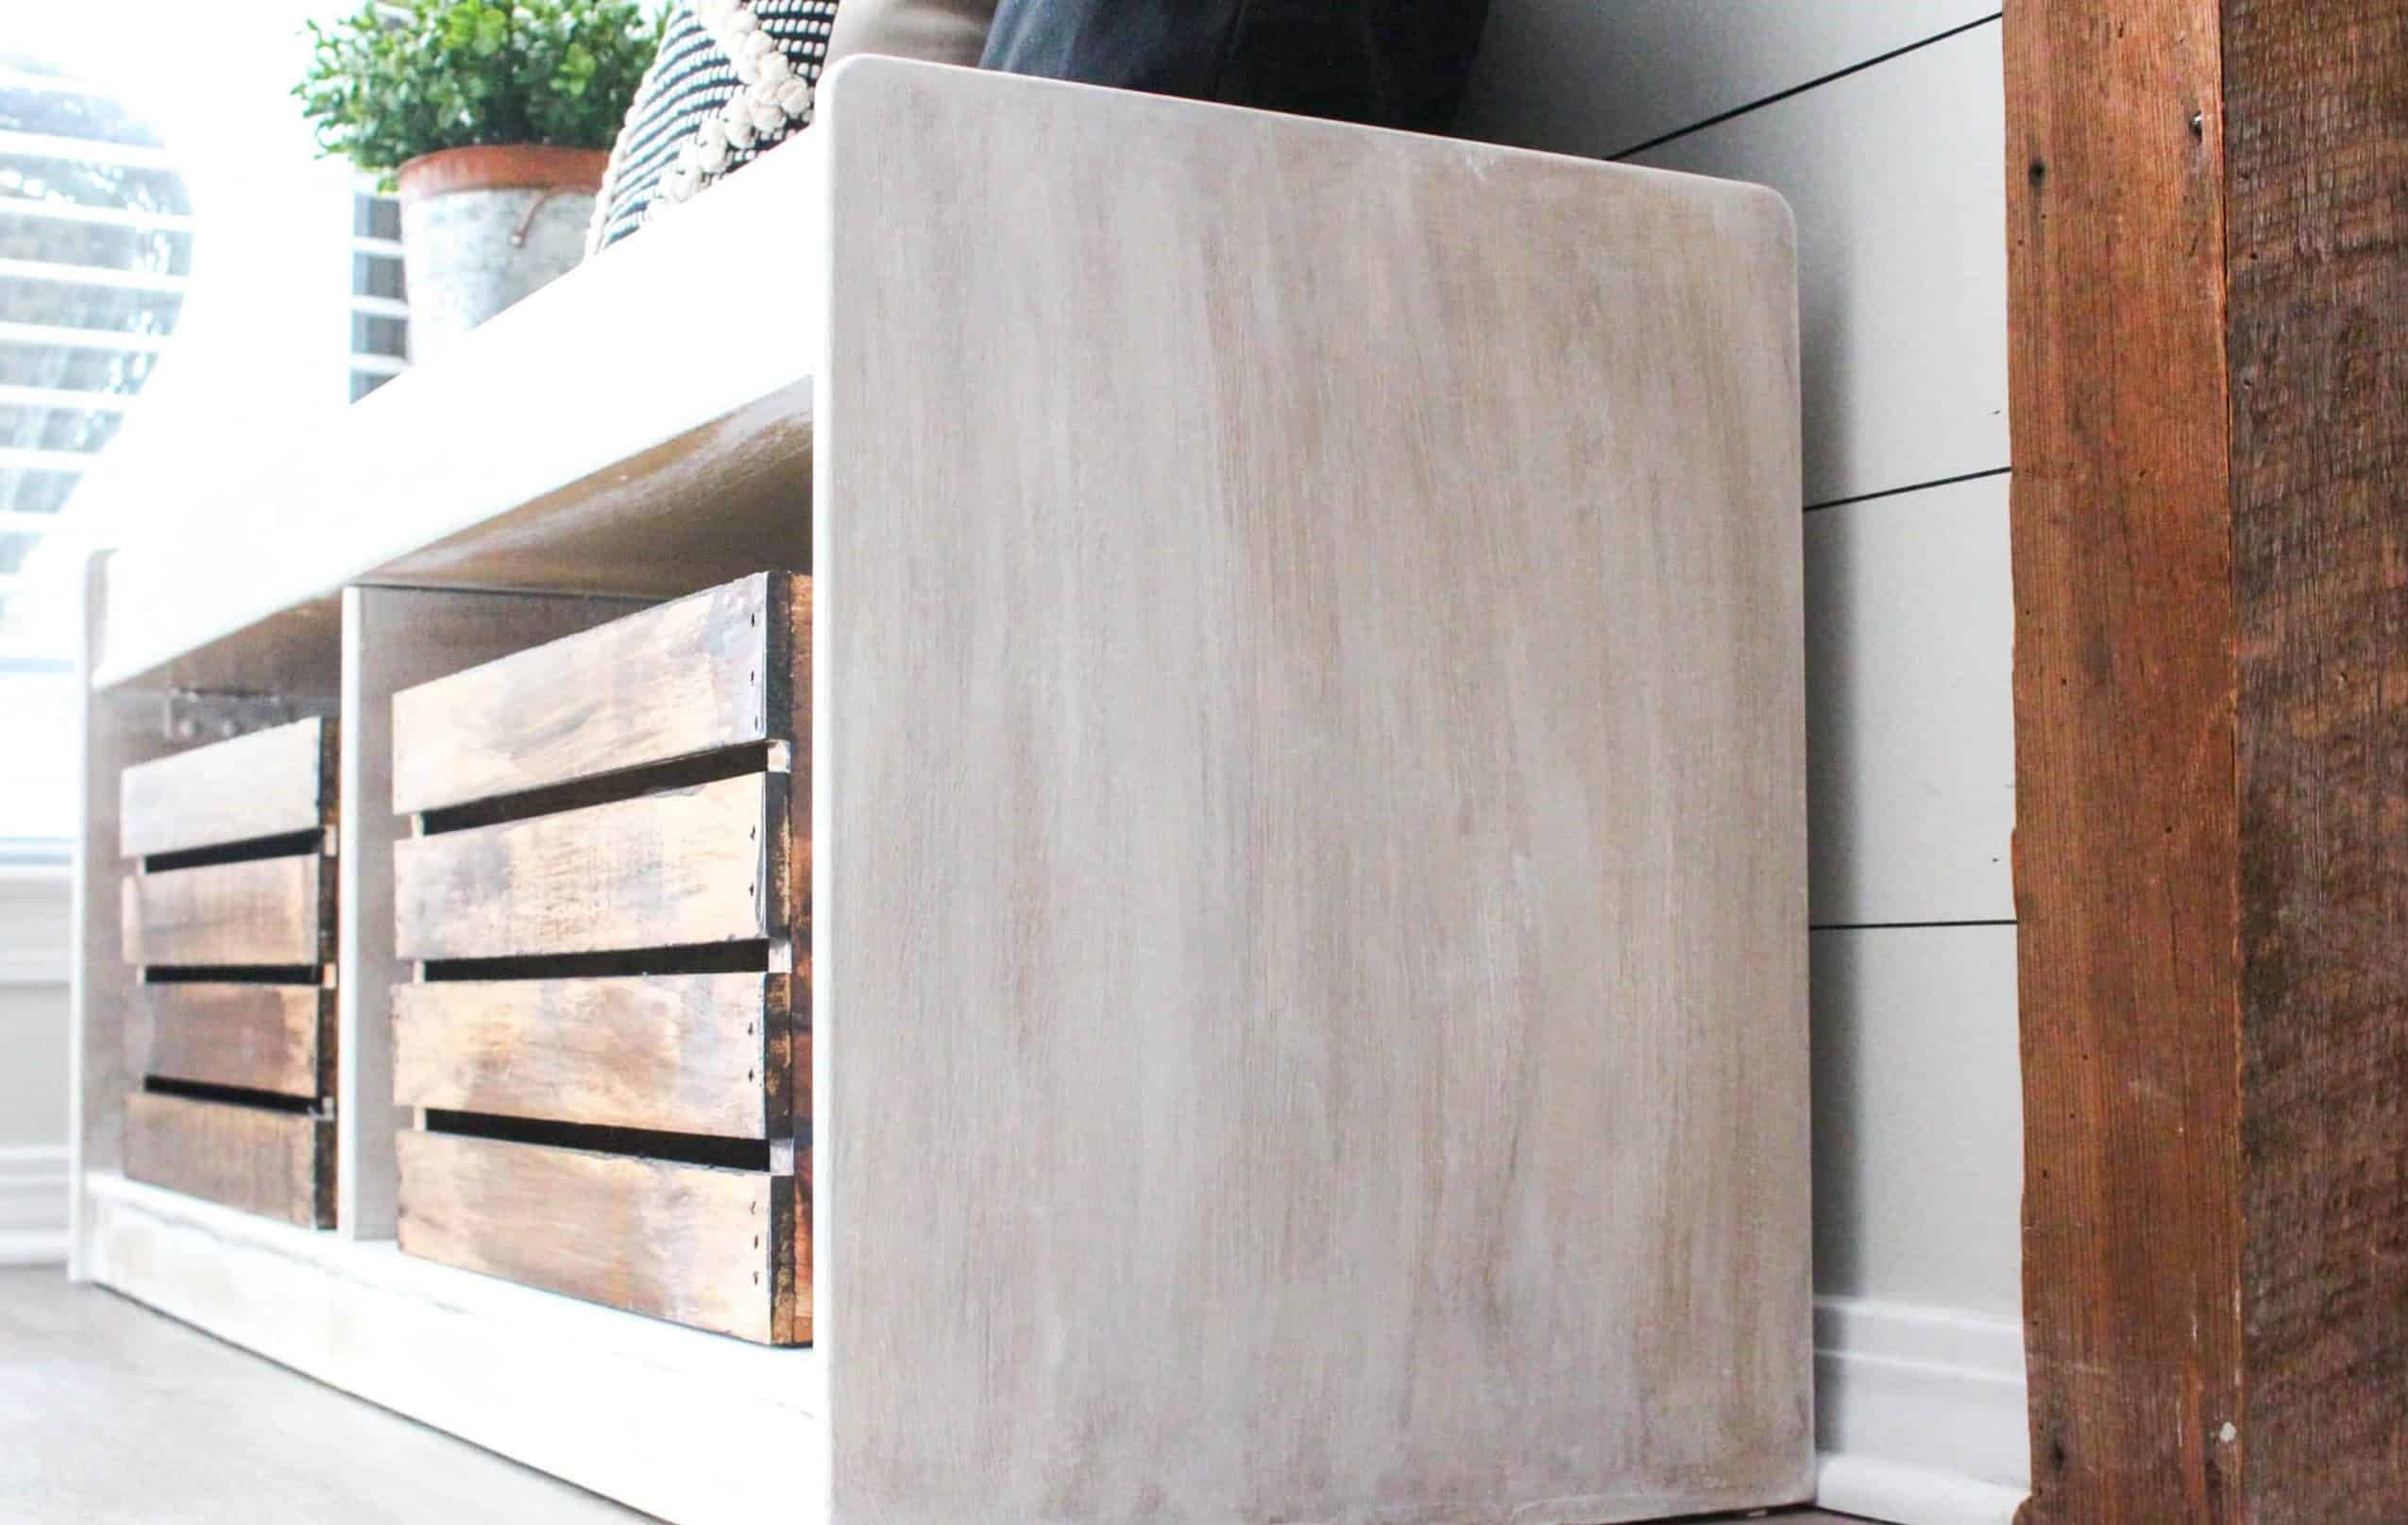
- Color wash- color wash is a technique that covers the furniture softly, still letting the natural color of the furniture peak through it. Dilute the paint by adding a bit of water to achieve a color-wash look. Pour the paint into a tray, add a tiny amount of water, mix it and apply.
- Weathered look- it’s pretty easy to achieve and gives a vintage look to the furniture. To achieve this look, get a flat dry brush, add a tiny amount of paint to the tips, and stroke with the dry brush. Now sand the paint a bit unevenly to expose the natural look of the wood underneath the paint.
- Geometric pattern- with the help of painter’s tape, create geometric patterns with one or different colors.
Step-3: Wax The Final Layer
- This is the final step in order to accomplish the furniture you envisioned. Apply wax with the bristle brush or lint-free cloth. Make sure to apply it evenly and don’t leave any area unattended.
- Once the first coat is all set and dry, apply the second coat.
- Keep a close eye on the textured wax coating as it needs to be smooth or the whole process is nothing but vain.
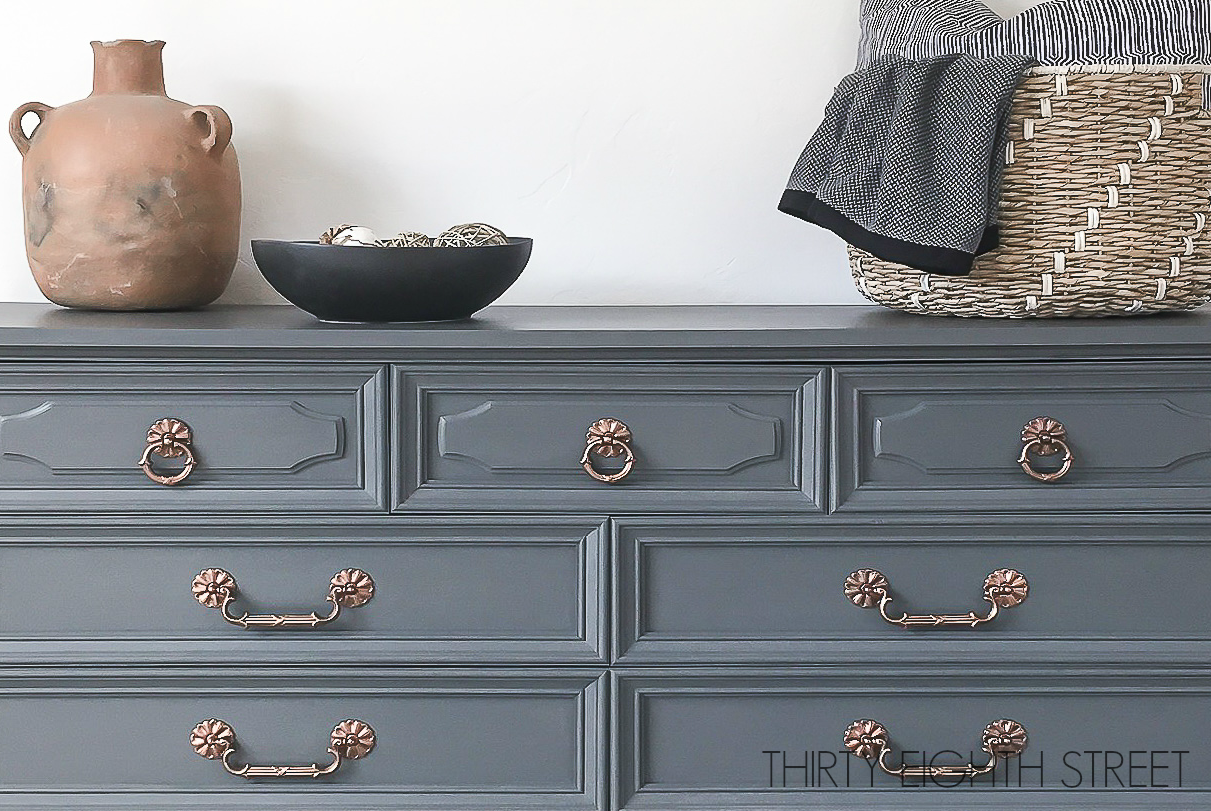
- Install all the hardware you removed in the first step.
Applying wax can improve the finish and secure the paint on the furniture you painted with so much of hard work. You need to be careful after applying the wax, as it can take up to 21 days to cure properly. Please do not touch or load the furniture with your stuff during this period. Once it is dry and ready to use, you can place your piece of art.
If you don’t have the wax or don’t want to use it, then you should go for furniture lacquer.
Few mistakes to avoid while chalk painting
- Do not overload your brush.
Overloading a brush won’t only make it challenging for you to paint the surface but also leave a blotchy, ugly, and textured finish. Too much paint will end up smudging and oozing out of the surface.
To get rid of such a situation, keep a lint-free cloth on the color tray and wipe the excess paint from the brush with the help of that cloth. - Don’t paint from top to bottom.
Painting top to bottom s not the proper sequence to do it, always try to start from the bottom and then go for the top, as the top needs more care and a perfect finish. Starting from the bottom would give you enough time to prepare yourself to paint better. - Do not leave the stencils and the tapes for a longer period.
Always remove the stencils when the paint’s drying process is in the mid-way. If the paint is dry completely and you try to remove the stencil, there are high chances that the paint will crack, ruining the look. The same goes for the painter’s tape. Also, don’t remove the stencil or tape when the paint is newly applied and is wet. - Don’t follow the trend blindly.
Don’t try to follow the trend blindly in order to look cool. Not every trend is meant for you. Everyone has different preferences, so do what you feel like doing, not because someone famous did it. - Don’t let your mind wander.
If you have made up your mind about a look, then focus only on achieving that look. Don’t even think about changing it in midway. There are 50-50 chances it might turn out the way you envisioned; worse, it would be a disaster, and you’ll need to repeat the whole process.
However, you can try giving textures to the paint by using a brush, sandpaper, etc. but do not try to change the color in mid-way.


